To install WordPress in a local Environment can sometimes be a bit tricky. This is a step-by-step guide to help through.
When starting your WordPress development for the first time, it’s not advisable to start doing so live, especially in Nigeria. The data rates in this part of the world are very high.
So by default, most developers start their development journey offline, and then after completing the design, the project is then migrated online to a live host.
In my last post, How to set up your local environment for WordPress development, I showed you how to set up the XAMPP software to smooth WordPress development.

To install WordPress In a Local Environment, follow the following steps:
Download WordPress files from here.
Unzip the files.
Copy the unzipped folder to your Htdocs folder located at C -> Xampp -> Htdocs.
Create a new folder with the name of the site you want to create. Example if you are creating a website with the name ‘startupxone’ then that should be the name of the folder.
Now copy the contents of the WordPress folder into ‘startupxone.’ This will allow you always to have a copy of the WordPress core files in Htdocs\WordPress.
Now start up your Xampp server by clicking on the icon in the taskbar (skip if it’s already running).
Open your browser and go to localhost/phpmyadmin to access your databases.
On the top left, click on ‘new’ to create a new database.
Installing WordPress Locally 1
Enter the preferred name for your database and click on ‘create.’
Open a new tab and go to localhost/your-site-name e.g. Localhost/startupxone.
This should open the WordPress installation wizard.
Select your preferred language and click on next.
The setup lists the items you need before proceeding. Click ‘Let’s go!’
Input the name of the database you just created in step 8 in the database field.
By default, the database username is ‘root’ (this should be changed if on a live host or shared local server).
The database password by default is ‘’, just blank.
Leave host and table prefix as they are and click on ‘Submit’ and click ‘Run the installation.’
Installing WordPress Locally 2
If everything is okay, this should take you to the site customization window.
Input the name of the website in the Site Title field (this can be different from the domain name).
Put a preferred username, password, and email address in their respective fields and click okay.
Installing WordPress Locally 3
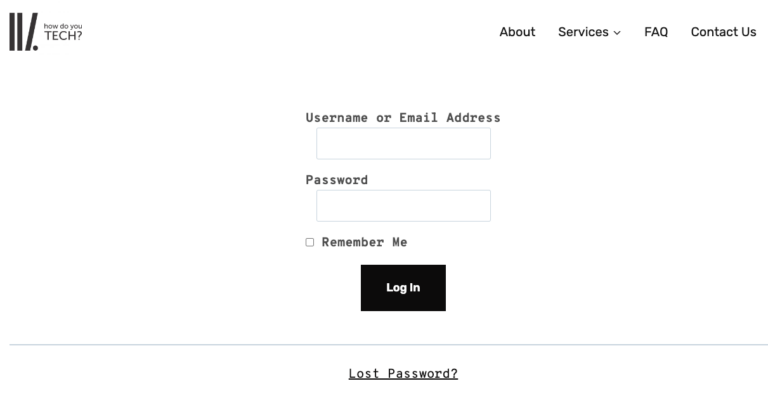
That’s all. Next is to log in using the username/email and password you just created to the admin dashboard.
To login to the admin dashboard, follow these simple steps.
Go to localhost/yoursite/wp-admin or http://yoursite/wp-admin (replace yoursite with the name of your website).
Input your username/email and password in the provided fields and click on the login.
This will take you to your WordPress Dashboard.


